Complete Guide on How to Discharge a Capacitor Safely and Effectively
Ever wondered how to discharge a capacitor safely? As a seasoned HVAC technician, I’ve seen the grim aftermath of this operation done wrong. It’s no joke – a misstep could cost you more than just money.
In this guide, you’ll learn the step-by-step process of capacitor discharges. You’ll gain the critical knowledge needed to handle your AC unit or other appliances safely, potentially saving you from accidents and heavy repair bills.
And it’s not just for my fellow specialists. Homeowners and DIY enthusiasts, this one’s for you. After all, understanding how to safely discharge a capacitor doesn’t just make you handy – it could save your life. Welcome to Capacitors 101!
Introduction to Capacitors and Their Importance
What is a Capacitor?
- A capacitor is an essential electronic component designed to store and release electrical energy.
- It comprises two conductive plates, often made of metal, separated by an insulating material known as a dielectric.
- Capacitors have myriad applications in electrical and electronic circuits, including energy storage, power conditioning, signal coupling, and filtering.
The Importance of Discharging Capacitors
- Knowing how to discharge a capacitor is critical for ensuring safety before undertaking any maintenance work, especially considering the dangers associated with electricity; for more information on working safely with electrical systems, you can visit this resource.
- Even when a device is turned off, capacitors can retain potentially lethal amounts of electrical energy.
- Failing to discharge a capacitor properly can lead to severe electrical shocks or cause irreversible damage to the device.
Safety Precautions Before Discharging a Capacitor
You’ll want to make sure you take every precaution before attempting to discharge a capacitor. These safety steps are non-negotiable to keep things safe and shock-free.
Ensure the Capacitor is Disconnected
- First and foremost, make sure the capacitor is completely disconnected from any power source. Trust me, there’s nothing worse than a surprise jolt of electricity.
- Give all the wiring and connections a thorough once-over to make sure there are no live wires sneaking power into the capacitor. This step is your best bet for preventing accidental jolts during the discharge.
Turn Off and Unplug the Device
- Go ahead and switch off and unplug the device that the capacitor is a part of. This will stop any additional charge from building up in the capacitor while you’re working on it.
- This measure not only simplifies the task but also ensures the capacitor isn’t going to turn into a mini lightning bolt while you’re trying to discharge it. It’s all about creating a safer work environment.
Wear Appropriate Safety Gear
- Suit up with insulated gloves, protective eyewear, and safety clothing designed to ward off electrical shocks. Think of this gear as your personal suit of armor.
- Wearing all this safety gear is especially crucial when you’re dealing with high voltage capacitors. These bad boys can cause serious harm if you’re not properly protected.
By following these precautions on how to discharge a capacitor, you’re ensuring a safe and secure process, drastically lowering the risk of any electrical mishaps.
Identifying and Measuring the Capacitor’s Charge
Learning how to discharge a capacitor starts with knowing how to identify and measure the charge it holds. It’s a process that’s pretty straightforward once you get the hang of it.
Locating the Capacitor in the Circuit
- First things first, you need to pinpoint the capacitor in your circuit. You’ll recognize it by its two terminals sticking out from the top.
- If you’re having trouble finding it, check the device’s schematic diagram or user manual. These documents usually have clear information about component locations, making your search a bit easier.
Using a Multimeter to Check for Charge
- Next, grab your multimeter and set it to measure DC voltage. Turn the dial to the highest voltage setting available. This ensures the multimeter can handle any charge present in the capacitor.
- Place the red lead of the multimeter on one terminal and the black lead on the other. This completes the circuit and lets the multimeter do its job of measuring the voltage across the capacitor.
- Take a look at the multimeter display. The reading you see is the current charge level of the capacitor, giving you a good idea of its stored energy.
Understanding Dangerous Voltage Levels
- When you’re measuring the charge, be cautious. Readings above 10 volts are usually considered dangerous. Capacitors with this level of charge need to be discharged properly to avoid any nasty shocks.
- If the voltage is below 10 volts, you might not need to actively discharge it. Still, it’s a good idea to handle it carefully to prevent any accidental shocks or damage.
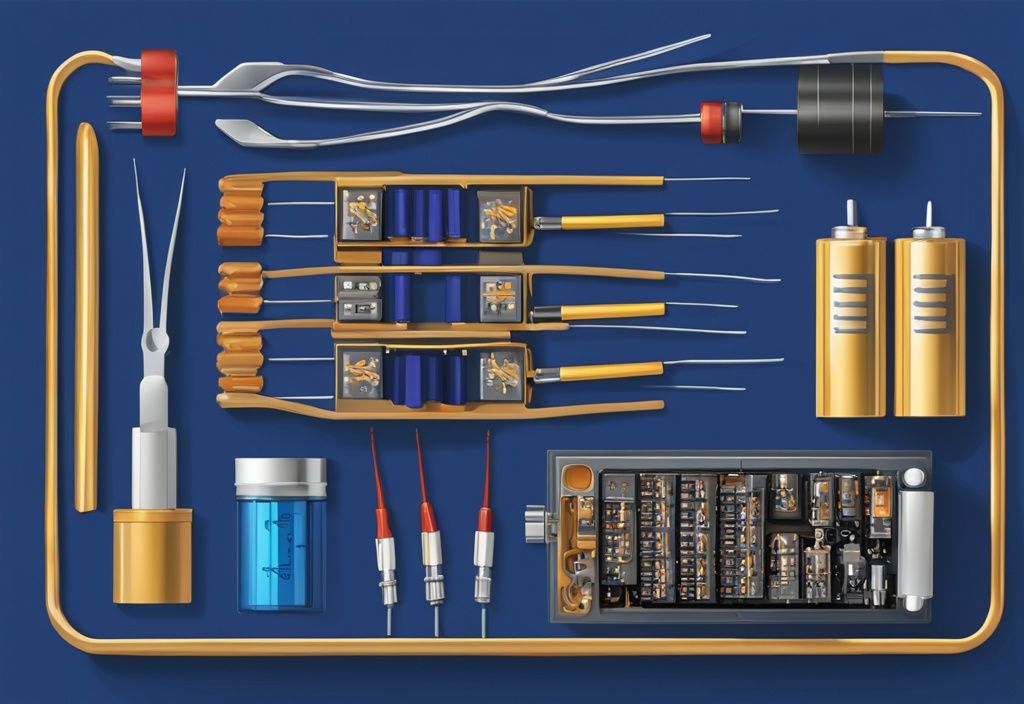
- For voltages between 10 and 99 volts, you can use simple tools like an insulated screwdriver or a light bulb to safely discharge the capacitor. These methods are straightforward and effective.
- But if you’re dealing with capacitors holding hundreds of volts, you’ll need specialized discharge tools and strict safety measures. High voltages are no joke, so make sure you’re using professional equipment and following all recommended precautions.
Methods to Discharge a Capacitor
Knowing how to properly discharge a capacitor is key to ensuring your safety and the longevity of your equipment. Let’s dive into some practical techniques.
Discharging Low Voltage Capacitors (Under 10V)
- Capacitors with a voltage under 10V typically don’t require active discharge. However, handling with caution is imperative. It’s always best to double-check.
- First, verify with a multimeter to confirm the voltage is indeed under 10V. This ensures you’re on the safe side and prevents any surprises.
Discharging Capacitors with 10-99 Volts
Using an Insulated Screwdriver
- When using an insulated screwdriver, carefully hold the capacitor by the sides to avoid contact with its terminals. You don’t want any accidental shocks.
- Utilize an insulated screwdriver ensuring the handle is undamaged, and touch both terminals simultaneously. This can cause a spark, which means the capacitor is discharging.
- Re-check the charge using a multimeter or repeat the discharge process until the capacitor is fully discharged. Safety first!
Using a Light Bulb
- A light bulb (around 75W) can be used for discharging capacitors with voltages from 100V to 300V. It’s a practical and visible method to ensure the charge is gone.
- Connect the light bulb terminals to the capacitor terminals. If the bulb illuminates, there’s still a charge.
- Wait for the bulb to dim and go out, signaling that the capacitor’s charge is dissipated. Confirm with a multimeter to ensure complete discharge. Simple and effective.
Discharging High Voltage Capacitors (Hundreds of Volts)
Using a Capacitor Discharge Tool
- Using a capacitor discharge tool is a safe approach. Securely attach the alligator clips of the discharge tool to the capacitor terminals to start the process.
- The tool gradually lowers the voltage, ensuring a safe discharge. No rushing here, let the tool do its job.
- Monitor the voltage level with a multimeter, verifying that it drops to zero. This indicates a full discharge, safeguarding you and your equipment.
Using a Resistor
- Select an appropriate resistor to control the discharge rate. This method prevents potentially hazardous sparks, making the process safer.
- Connect one end of the resistor to the capacitor’s positive terminal and the other to the negative terminal. It’s about managing the electrical flow safely.
- Allow adequate time for the charge to dissipate, typically equivalent to five time constants of the capacitor. Patience is key here.
- Utilize clip leads to ensure the resistor is securely connected, maintaining safety throughout the process. Safety and security go hand in hand with this method.
Step-by-Step Guide to Discharging a Capacitor
Discharging a capacitor safely is crucial when working with any electrical device. Here’s a step-by-step guide to help you through the process.
Step 1: Prepare the Necessary Tools
- Get your tools ready: an insulated screwdriver, resistor, light bulb, and multimeter.
- Wear insulated gloves and safety glasses to protect yourself.
Step 2: Disconnect and Power Down the Device
- Make sure the device with the capacitor is turned off and unplugged from any power source.
- Disconnect all external power sources to ensure no new charges accumulate.
- Double-check your device to confirm it’s completely de-energized before proceeding.
Step 3: Locate and Test the Capacitor
- Identify the capacitor in the circuit. Refer to the device’s schematic or user manual if needed.
- Set your multimeter to the highest DC voltage and measure the electrical charge.
- Record the voltage reading to determine the right discharge method.
Step 4: Discharge Using the Appropriate Method
- For low voltage capacitors (under 10V), handle them cautiously and use the multimeter to verify the voltage.
- For capacitors with voltages between 10-99V, use an insulated screwdriver or a light bulb to discharge.
- For high voltage capacitors (hundreds of volts), use a professional discharge tool or a resistor. Stick to all safety protocols strictly.
Step 5: Verify the Capacitor is Fully Discharged
- After discharging, use a multimeter to ensure the voltage has dropped to zero.
- Do a final check by touching the terminals with an insulated screwdriver or repeating the multimeter test.
- Confirm the capacitor is fully discharged before continuing any further work on the device.
Building a Capacitor Discharge Tool
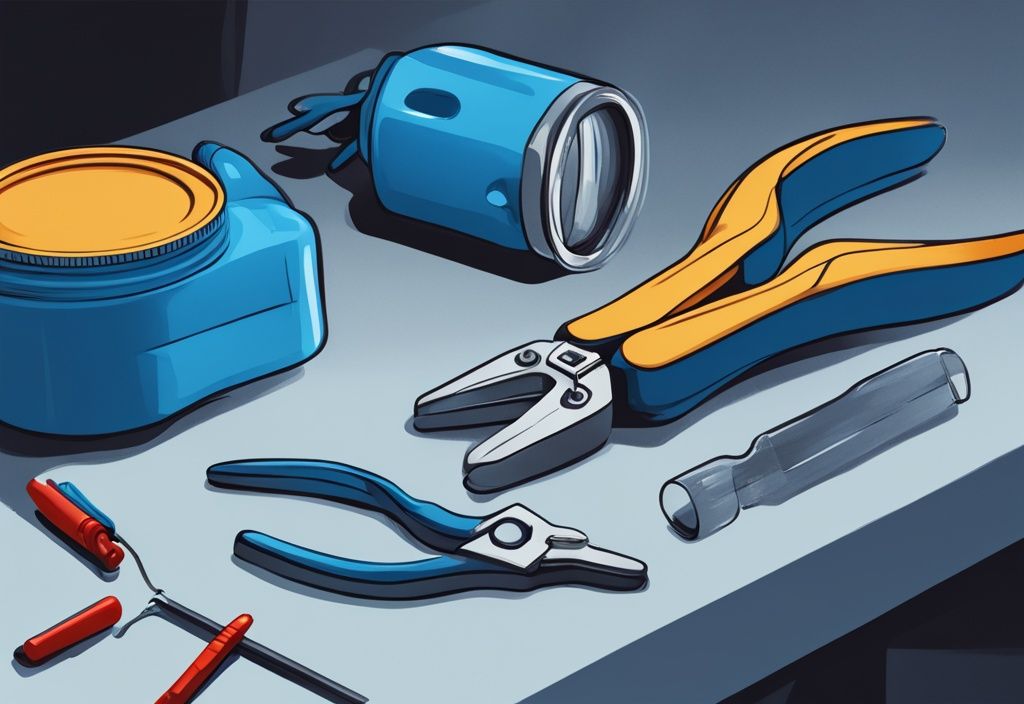
When working on HVAC systems, knowing how to discharge a capacitor safely is essential. Let’s walk through creating a simple yet effective capacitor discharge tool. It’s a straightforward process that anyone can handle, provided the right components and steps are followed.
Required Components
- Resistor of appropriate rating
- 6-inch insulated wires
- Electrical tape or heat shrink wrap
- Insulated alligator clips
- Soldering iron and solder
Step-by-Step Construction
- Cut the Wires: First, cut two pieces of 6-inch insulated wire. Strip about half an inch of insulation from each end. This gives you enough bare wire to make good, solid connections.
- Solder the Resistor: Solder the stripped ends of the wires to the leads of your resistor. This ensures a tight connection, providing reliable discharge capabilities.
- Insulate the Connections: Wrap the soldered joints with electrical tape or use heat shrink wrap. This insulation is crucial for preventing accidental short circuits and maintaining safety.
- Attach Alligator Clips: Solder the other ends of the wires to the insulated alligator clips. Ensure these connections are strong and stable, allowing the clips to hold firmly.
- Finalize the Tool: Double-check all your connections. Cover any exposed wires with electrical tape or heat shrink wrap to eliminate the risk of electrical shock.
Using this tool is simple: just clip the alligator clips to each terminal of the capacitor you’re working with. The resistor will safely reduce the voltage, ensuring the capacitor discharges securely. Always use a multimeter to confirm the capacitor is fully discharged before proceeding with any further work. Safety first!
Special Cases and Considerations
There are certain scenarios where discharging capacitors requires extra caution and specific techniques due to the high voltages involved. Let’s delve into some common household applications:
Discharging Capacitors in Air Conditioners
Air conditioners often contain high-voltage capacitors, primarily used for motor starting functions. Here’s a practical approach to ensure you handle these safely:
- Before beginning, ensure the unit is completely unplugged to prevent residual electricity flow. This is the first crucial step to avoid electric shock.
- Utilize insulated tools and wear safety gear such as gloves and goggles for protection against electrical shock. Trust me, these can make a world of difference.
- Special capacitor discharge tools are highly recommended due to the high voltage present in these components, ensuring a controlled and safe discharge process.
Discharging Capacitors in Microwaves
Working on microwaves can be particularly hazardous due to their high-voltage capacitors, sometimes storing up to 4000 volts. Here’s a step-by-step approach:
- Always unplug the microwave from the power source before starting any work to ensure it is completely de-energized. This is non-negotiable for safety.
- Use insulated screwdrivers or specialized capacitor discharge tools to safely release stored energy. This prevents sudden high-energy discharges, which can be dangerous.
- Ensure all protective measures are in place, including proper safety gear such as insulated gloves and protective eyewear, to guard against electrical hazards. Your safety gear is your best friend here.
Discharging Capacitors in Power Supply Units
Capacitors in power supply units (PSUs) of computers and other electronics can store potentially dangerous high voltages. Let’s make sure you handle them safely:
- Unplug the PSU and wait a few minutes as some units possess internal mechanisms that help in discharging the capacitors slowly. Patience pays off here.
- If any charge remains, use a suitable resistor or a dedicated discharge tool to release the residual voltage safely. This ensures you’re not left with any nasty surprises.
- Always verify that the voltage has dropped to zero with a multimeter before proceeding to work on the PSU. This final check will help avoid any electrical mishaps.
By following these steps, you’ll be taking the necessary precautions to discharge capacitors safely, regardless of the appliance you’re working on. Remember, the right tools and safety measures are key to preventing accidents.
Recycling and Disposing of Used Capacitors
Environmental Considerations
When dealing with used capacitors, it’s crucial to remember that they can contain harmful substances like PCBs (polychlorinated biphenyls). Improper disposal can lead to serious environmental hazards. Electrical waste isn’t something to be taken lightly—disposing of it responsibly is essential to prevent hazardous materials from contaminating our ecosystem.
It’s a good idea to consult your local waste management facilities. They can provide guidelines on how to dispose of capacitors in a way that’s both sustainable and in line with environmental regulations. This step ensures you’re doing your part for the environment.
Safe Disposal Practices
Before you toss out any capacitors, always make sure they are fully discharged. Even a small residual charge can pose a serious safety risk. Think of it as a simple, yet crucial, precaution to protect yourself and those around you.
For the actual disposal, specialized electronic waste recycling centers are the way to go. These facilities are equipped to handle electronic components safely, ensuring that the capacitors are processed without causing harm to the environment or public health.
Whatever you do, don’t throw capacitors in with your regular household trash. Doing so can lead to environmental contamination and potentially endanger waste management workers. It’s all about making responsible choices for the greater good.
Conclusion
Discharging a capacitor safely is more than just a skill; it’s an absolute must for anyone tinkering with electronic devices. Even when your device is turned off, capacitors can hold a potentially dangerous amount of electrical energy. This energy needs to be safely discharged to avoid accidental shocks or damage to your gear. Trust me, I’ve seen what can happen when this step gets skipped, and it’s never pretty.
Discharging a Capacitor Safely
So, here’s the deal. Knowing how to discharge a capacitor safely isn’t rocket science, but it does require some know-how and the right tools. For instance, if you’re working on your vehicle, understanding how to discharge components can help address specific issues such as 2004 Trailblazer air conditioning problems. You’ll want to follow proven methods to get it done right. Start with a multimeter to check the stored voltage, so you know exactly what you’re dealing with. Depending on the voltage, tools like insulated screwdrivers, resistors, light bulbs, or specialized discharge devices come in handy.
And never skimp on safety gear! Insulated gloves and protective eyewear aren’t just for show. These basics keep you safe from nasty electrical shocks, and trust me, you don’t want to find out what a live capacitor feels like the hard way.
Using Proper Tools and Methods
Always stick to the correct procedures when discharging a capacitor. For example, an insulated screwdriver might work for low-voltage capacitors, but higher voltage ones may call for a resistor or a specialized discharge tool. It might sound a bit tedious, but these steps are crucial for your safety.
During my career, I’ve had my share of close calls, and it’s always the careful, methodical approach that pulls you through without a hitch. So, make sure you’re geared up with the proper tools and methods every single time.
Seek Professional Assistance When Needed
Feeling unsure about how to discharge a capacitor safely? Or maybe you’re just not comfortable doing it yourself? That’s perfectly fine! Sometimes it’s better to call in a pro. Incorrect handling can not only lead to serious injuries but also mess up your device. Getting professional help ensures the job is done safely and correctly, sparing you the trouble and risk.
One time, I got called in for a capacitor discharge that someone had attempted to DIY. Let’s just say, it didn’t end well for the device. Learn from others’ mistakes—when in doubt, seek out a qualified technician.
FAQ
In this FAQ section, we’ll dive into some common questions about how to discharge a capacitor safely and effectively. Let’s break it down so it’s easy to follow and understand.
Why is it necessary to discharge a capacitor before working on it?
- Capacitors can retain significant electric charge, posing risks of harm or fatality.
- Discharging removes stored energy, making the component safe to handle.
Imagine you’re dealing with a small but mighty battery that could surprise you with a nasty jolt. That’s why you need to handle capacitors with caution and make sure they’re fully discharged.
What tools do I need to safely discharge a capacitor?
- Multimeter to check voltage levels
- Insulated screwdriver or resistor
- Light bulb for mid-range voltage capacitors
- Capacitor discharge tool for high voltage applications
- Personal safety gear: insulated gloves and protective eyewear
Just like making sure you have the right ingredients before cooking a meal, having the correct tools on hand is crucial. A multimeter helps you confirm it’s safe to proceed, while an insulated screwdriver or resistor can be your trusted sidekick for lower voltage tasks.
Can I discharge a capacitor without any special tools?
- Yes, for low-voltage capacitors, an insulated screwdriver can be sufficient.
- For higher voltages, specialized tools are highly recommended to ensure safety and efficiency.
Think of it this way: You can use a kitchen knife for many tasks, but sometimes you need a chef’s knife for the big jobs. For higher voltage capacitors, those specialized tools really make a difference in keeping things safe.
What should I do if I’m unsure about discharging a capacitor safely?
- Seek professional assistance if you are uncertain.
- Improper handling can result in electrical shocks, system damage, or other hazards.
- Professional help ensures safe and correct discharge.
If you ever find yourself feeling unsure, it’s always better to play it safe. Just like you’d ask a mechanic for help with a tricky car repair, reaching out to a professional can save you from a world of headache and potential danger.


Post Comment