Ultimate Guide: How to Seal Window AC Unit for Max Efficiency
Ever wondered why your window AC unit might be struggling despite its best efforts? Well, it’s me, John Parker, at your service to solve this mystery! There’s a good chance your unit’s seals are to blame, as they let the cool air slip out, inviting high utility bills that nobody asked for.
This friendly guide will not only walk you through the nitty-gritty of sealing your AC for better cooling efficiency but also discuss ways to prevent potential moisture damage. All you need is a handful of right tools and a little bit of elbow grease.
So, ready to gear up and turn your room into a cool haven? Let’s get started and make your AC work its magic!
Introduction
Explanation of the Importance of Sealing a Window AC Unit
Sealing a window air conditioner is essential for several reasons. When sealed correctly, your unit will minimize air leaks, enhance efficiency, and cut down on utility costs. A good seal ensures that the cooled air stays inside your home, preventing the warm outside air from seeping in. This way, you maintain a comfortable indoor environment all summer long.
Benefits of Sealing a Window AC Unit
- Enhanced Cooling Efficiency: When you seal your window AC unit, you’re optimizing its cooling capacity, allowing it to perform at its best.
- Lower Energy Bills: Sealing prevents air leaks, reducing the strain on your AC unit. This lowers your energy consumption and, consequently, your utility bills.
- Prevention of Moisture Damage and Mold: A well-sealed unit stops moisture from creeping in, reducing the risk of mold and mildew, which can damage your home and impact your health.
- Reduction of External Noises: Proper sealing acts as a sound buffer, keeping outside noises to a minimum for a quieter indoor environment.
Why You Should Seal Your Window AC Unit
Sealing your window AC unit properly is more important than you might think. It impacts energy efficiency, utility costs, cooling performance, and even helps prevent moisture-related issues.
Improved Energy Efficiency
Let me tell you, sealing your window AC unit pays off big time in terms of energy efficiency. When everything is sealed up tight, the cool air stays inside, and the hot air stays outside. This means your air conditioner doesn’t have to work overtime to keep your home at a comfortable temperature. You’ll find it runs more smoothly and saves energy in the long run.
Reduced Utility Costs
Now, I’ve seen way too many folks getting hit with sky-high utility bills simply because their AC unit wasn’t sealed properly. An airtight seal around your unit stops outside air from creeping in and keeps the cooled air from escaping. This way, your AC doesn’t have to run marathon cycles to keep up, and you see the difference in your utility bills big time. It’s one of those small tweaks that show big savings.
Maintained Cooling Efficiency
Think of it this way: if your AC unit is constantly battling air leaks, it’s like trying to fill a leaky bucket. Your AC ends up working much harder than it should, which isn’t good for its longevity. Proper sealing means it can cool your home without breaking a sweat. This keeps your unit in good health, dodging unnecessary wear and tear while ensuring you stay chill even during heatwaves.
Prevention of Air Leaks and Moisture Damage
Nobody wants mold and mildew in their home, right? Sealing your window AC unit is a solid defense against these pesky issues. Air leaks can bring in humid air from outside, which then condenses and creates a perfect breeding ground for mold. Not only is this bad for your health, but it can also cause some nasty water damage. Keep your home dry and your air healthy by making sure those seals are tight.
By paying attention to how you seal your window AC unit, you can enjoy better energy efficiency, lower utility bills, optimal cooling performance, and a much healthier home environment. For those looking to improve their AC experience further, check out our guide on how to connect Hisense AC to WiFi.
It’s a small investment of time with huge returns in comfort and savings.
Tools and Materials Needed
When you’re about to tackle the job of sealing a window AC unit, having the right tools and materials is crucial. Let’s dive into what you’ll need to get the job done smoothly and effectively.
Essential Tools
-
Utility Knife
This little gem is indispensable for anyone figuring out how to seal a window AC unit. Picture it: you’re fine-tuning foam boards and insulation materials to fit just right, and a utility knife feels like an extension of your hand.
-
Screwdriver
A screwdriver is your trusty sidekick in this mission. You’ll use it to secure the air conditioning unit and its panels. The tighter you secure everything, the better the seal, translating to more comfort and energy savings.
-
Gentle Non-abrasive Cleaner
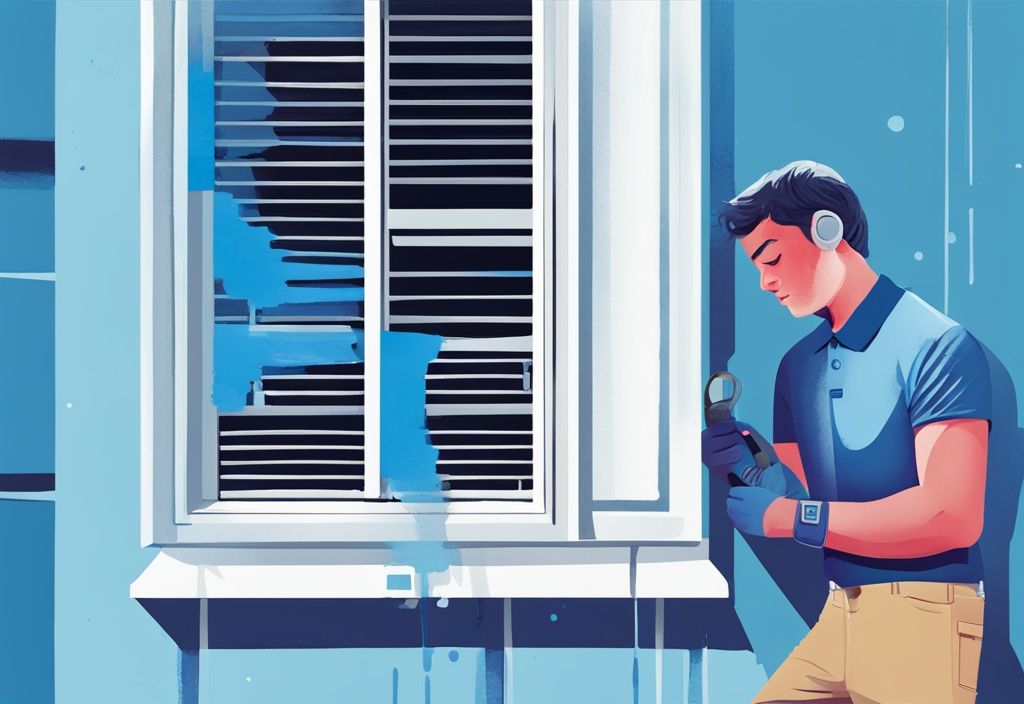
Before you even think about sealing, grab a gentle non-abrasive cleaner. Give both the window and the AC unit a good scrub. Clean surfaces are key to making sure your sealing materials stick properly and do their job.
Materials
-
Rope Caulk
Rope caulk is your secret weapon for those tiny, pesky gaps and cracks. It’s pliable and easy to work with, making it perfect for achieving a tight, thorough seal, especially in tricky spots.
-
Weatherstripping
This material is a must-have for sealing smaller seams around your unit. It conforms to irregular surfaces and is pretty straightforward to apply. It’s a go-to for anyone learning how to seal a window AC unit.
-
Foam Strips
Foam strips come in handy for mid-sized gaps. They’re flexible but sturdy, creating an effective barrier against air leaks. These are great for ensuring a snug fit around your unit.
-
Foam Insulation Panels
Got some larger gaps? Foam insulation panels are your best bet. You can cut them to size and fit them snugly. They offer top-notch insulation, boosting your unit’s efficiency big time.
-
Adhesive Tapes
A variety of adhesive tapes like insulation tape, gaffer’s tape, and Tyvek tape are essential to keep everything in place. These tapes are lifesavers, ensuring all your sealing materials stay put, even in the trickiest spots.
Preparing Your Window AC Unit
Prepping your window AC unit is a critical step if you want to ensure it operates efficiently and seals properly. Let’s break it down into manageable chunks: cleaning the unit and window area, and inspecting for damages.
Cleaning the Unit and Window Area
How to Clean the Window and Unit
To ensure a proper seal when learning how to seal window AC unit, start by cleaning both the window and the air conditioner thoroughly. Begin by removing any dirt and debris from the window sill and frame using a gentle non-abrasive cleaner and a rag. Make sure the surface is completely dry before proceeding.
Once the window is spotless, turn your attention to the air conditioner unit itself. Remove the foam filter and give it a good wash with warm soapy water. Let it dry completely before putting it back. Now, grab a vacuum cleaner with a brush attachment and gently clean the exterior fins and vents of the air conditioner. This not only ensures efficient performance but also gets the unit ready for a tight seal.
Inspecting for Damages
After getting everything squeaky clean, it’s time to do a deep dive inspection for any damages. Look closely at both the window and the AC unit. Pay special attention to the accordion-style flaps and seals, as they often deteriorate due to exposure and frequent use. Watch out for cracks, tears, or any other signs of wear and tear that could affect the seal.
If you spot any problems, don’t fret. Minor cracks and gaps can be patched up temporarily using weather stripping or rope caulk. Of course, if the damage is severe, replacement might be necessary. Keeping your unit in top-notch condition is vital for sealing your window AC unit effectively, which in turn boosts efficiency and cuts down on energy costs.
Installing the Window AC Unit Correctly
Proper Placement
When learning how to seal window AC unit, it’s essential to start with proper placement. Ensuring your window AC unit is slightly tilted outward to facilitate drainage is key. A tilt of about half an inch is usually sufficient to prevent water accumulation inside the unit, which can damage internal components and decrease efficiency.
Ensuring a Tight Fit
To ensure a tight fit, fully extend the accordion panels on either side of the unit. These panels are designed to bridge the gap between your window frame and the unit itself. Use wood screws to secure the accordion panels to the window frame, ensuring there are no gaps through which air can escape. This step is crucial in optimizing your window air conditioner’s efficiency, as even small gaps can lead to significant energy loss.
Securing the Bottom Sash
The bottom sash of the window needs to be properly secured to hold the AC unit firmly in place. Lower the sash until it contacts the top of the air conditioner, then use screws or brackets to secure it. Double-check that the bottom sash is tightly sealed against the unit to prevent any air leaks.
Sealing the Gap between the Unit and Window Frame
When dealing with how to seal window AC unit, there are several critical areas that need your attention to ensure proper sealing and efficient operation of your air conditioning system. Identifying these common problem areas will help you achieve the best results.
Identifying Common Problem Areas
Gaps where Extensions Meet the Frame
One of the first areas to inspect is the gaps where the unit’s accordion-style extensions meet the window frame. Over my years as an HVAC technician, I’ve seen these gaps form due to a variety of reasons, from improper fitting to worn-out extensions.
Imagine this: you’re setting up your unit on a sweltering day, and despite your best efforts, there’s still a draft sneaking in. This unwanted airflow not only compromises your comfort but also the efficiency of your AC unit. Therefore, always ensure those extension panels are fully extended and firmly secured with screws or adhesive tape. This way, you minimize those pesky gaps and maximize comfort.
Cracks where Extensions Contact the Unit
Another critical spot to check is the cracks where the extensions contact the AC unit itself. Through constant use, the movement and vibration can cause these cracks to develop. Properly sealing these cracks is crucial. Without it, air and moisture can find their way into your home, affecting the unit’s efficiency.
Think of these cracks as tiny leaks in a dam. Even a small amount of unwanted air can make a big difference over time. Utilize materials like rope caulk or weatherstripping, and apply them carefully around these contact points. This creates an airtight barrier, much like patching those leaks to maintain a sturdy dam.
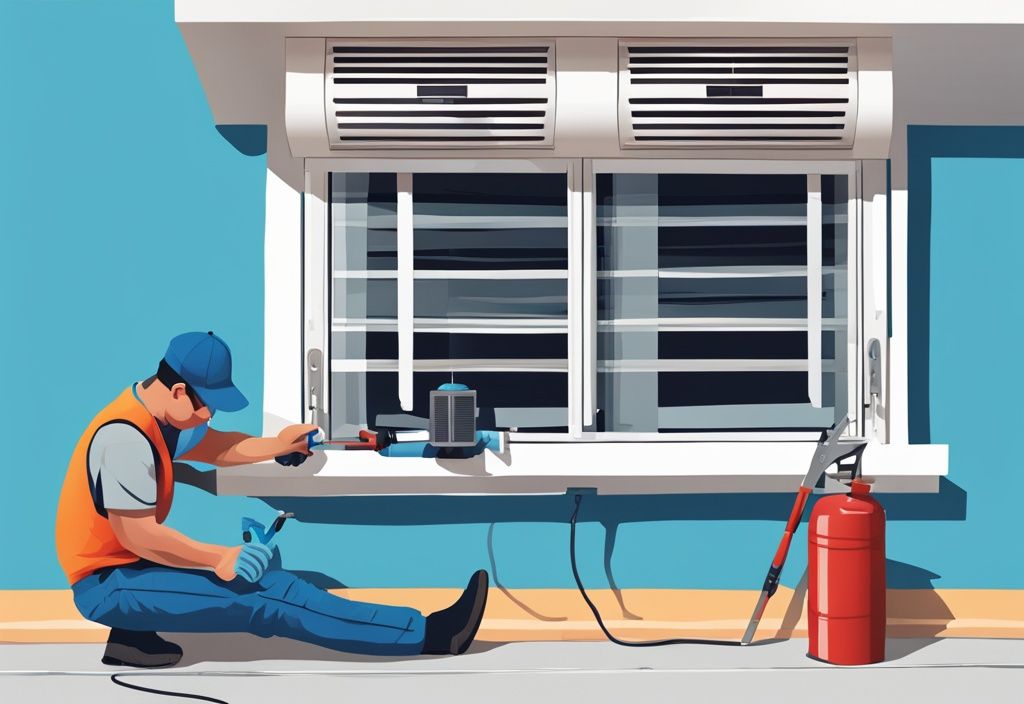
By thoroughly addressing these common problem areas, you’ll gain a clearer understanding of how to seal window AC unit efficiently. It’s all about ensuring optimum performance and comfort, transforming your living space into a true haven from the heat.
Temporary Sealing Solutions for Renters
Tired of drafts sneaking in around your window AC unit? Whether you’re renting and can’t drill or just need a non-permanent fix, there are some nifty solutions out there.
Using Foam Strips to Fill Gaps
Trust me, sealing your window AC unit without making it a construction project is a breeze with foam strips. Pick these up in various sizes to fit those sneaky gaps around your unit. All you’ve got to do is measure the gaps and slice the foam strips to size with a utility knife. Press them firmly into place so they stay put, blocking out the drafts. The beauty of foam strips is their simplicity—no fuss, no mess, and they come off as easily as they go on.
Applying Caulk Strips
Another fantastic temporary sealing solution for renters is caulk strips. These bad boys come with adhesive backing. Just peel and stick! Make sure you give the area a quick clean before you start for the best grip. Cut the caulk strips to the required length and press them into those gaps around your AC unit. Caulk strips will keep the cold air inside without harming your window frame when removed.
Alternatives to Duct Tape
Duct tape might be a quick fix, but it’s not the best for sealing a window AC unit. Instead, consider these options:
- Weather Stripping: Perfect for smaller seams, weather stripping sticks on well and pulls off clean, keeping your place draft-free.
- Insulation Tape: Ideal for both small and medium gaps, insulation tape offers good insulation and is easy to reapply if needed.
- Gaffer’s Tape: Known for its durability and clean removal, gaffer’s tape provides a strong seal without the sticky residue.
- Tyvek Tape: Strong and weather-resistant, Tyvek tape works great with other materials like cardboard or foam strips for enhanced sealing without harming surfaces.
These alternatives give you an effective seal while ensuring you won’t damage your windows or leave behind any mess when you decide to remove them.
Detailed Sealing Techniques for Window AC Units
Using Caulk and Weatherstripping
- How to Apply Caulk for Small Gaps: To effectively seal small gaps around your window AC unit, caulk is your best friend for gaps smaller than 1/8 of an inch. Make sure your weather conditions are dry and cool before you start. Apply a steady bead of caulk around the outside of the unit, smoothing it out with a caulking tool or your finger for a clean finish. Think of it like icing a cake – you want it smooth and even for the best results.
- Weatherstripping for Smaller Seams: When caulk just won’t cut it, adhesive-backed weatherstripping can swoop in to save the day. Clean the area well beforehand to ensure the best adhesion. Carefully apply the weatherstripping around the unit, pressing firmly to seal the gaps. A clean surface makes all the difference here, making the weatherstripping stick like a charm.
Foam Insulation for Larger Gaps
- Installing Foam Strips and Foam Boards: When you’ve got larger gaps to contend with, foam strips and boards are your go-to. Measure the gaps first to ensure you cut the foam to the correct size. Using a utility knife, cut the foam into shape. Attach the foam strips or boards with small screws or adhesive tape to seal tightly and prevent air leakage. It’s almost like doing a puzzle – everything needs to fit just right.
- Benefits and Application of Spray Foam Insulation: Spray foam insulation shines for gaps larger than an inch. It expands to fill the space, providing superb insulation. Bear in mind, though, spray foam is pretty permanent, which could be a hassle if you plan on removing your AC unit seasonally. It’s a bit of a commitment, so weigh your options carefully.
- Using Window Insulation Kits: For a polished, professional finish on those larger gaps, window insulation kits can be a great choice. These kits come with vinyl panels you can cut to size. Follow the manufacturer’s instructions to get a custom fit and durable seal around your window AC unit. It’s like getting a custom suit for your AC – snug and tailored just for your needs.
Alternative Materials
- Using Cardboard as Insulation: Believe it or not, cardboard can be a great temporary insulation material, especially if you use appliance boxes. Often coated in plastic, cardboard is durable and easy to adjust. Layer it for added thickness and secure it with adhesive tapes for better insulation. It’s a DIY solution that doesn’t require a lot of hassle.
- Sealing with Tyvek Tape and Gaffer’s Tape: When it comes to tapes, Tyvek and gaffer’s tape outshine traditional duct tape. They don’t leave that sticky residue and are more reliable. These tapes work well with cardboard for a secure seal. Simply cut the cardboard to fit and tape it into place, ensuring all edges are well sealed to prevent air leakage. It’s a quick, no-mess, and effective way to tackle those pesky gaps.
Routine Maintenance and Checks
Ensuring your window AC unit runs efficiently isn’t just about keeping the interior cool; it’s also about maintaining the seals. These regular checks help spot issues early, saving you from a spike in energy bills and potential moisture damage.
Inspecting Seals Regularly
Repairs start with inspections. At the beginning of the cooling season and periodically throughout the year, take a moment to check those seals.
- Visual Inspection: Look around the window frame and the AC unit for any visible gaps or signs of wear. Pay extra attention to where the accordion-style flaps meet the frame. These areas often show the first signs of trouble.
- Air Leak Detection: On a windy day, or using a handheld fan, hover around the sealed areas. If you feel any air movement, you might have a breach. It’s one of those simple yet effective tricks I often use.
- Moisture Check: After a heavy rain, inspect for water intrusion around the unit. For more details on this, you can learn about where the AC condenser is located to ensure thorough inspection. If you find any damp spots, it’s likely your sealing has been compromised, setting the stage for mold and mildew growth.
How to Repair or Replace Damaged Seals
Finding damaged seals can be a bit disheartening, but repairing them isn’t as tough as it seems. Follow these steps, and you’ll have your unit back to peak efficiency in no time.
- Remove Old Caulk: Start by using a hair dryer to heat the caulk around the unit. This softens it, making it easier to remove. It’s a trick of the trade that’s always served me well.
- Score with Utility Knife: Carefully score the softened caulk with a utility knife. This helps to loosen it from the surface for easier removal.
- Pull with Pliers: Gently pull away the softened and scored caulk using a pair of pliers. Removing as much old caulk as possible ensures a clean surface for the new seal.
- Scrape with Putty Knife: Use a putty knife to scrape away any lingering bits of caulk. Be gentle to avoid damaging the window frame or the AC unit.
- Clean Residue: Clean the area thoroughly with mineral spirits. Getting rid of any residue is crucial for the new caulk or weatherstripping to adhere properly.
- Apply New Seals: Once the area is clean and dry, apply new weatherstripping or caulk to the gaps around the AC unit. Ensure an even and continuous application to effectively seal all potential leaks.
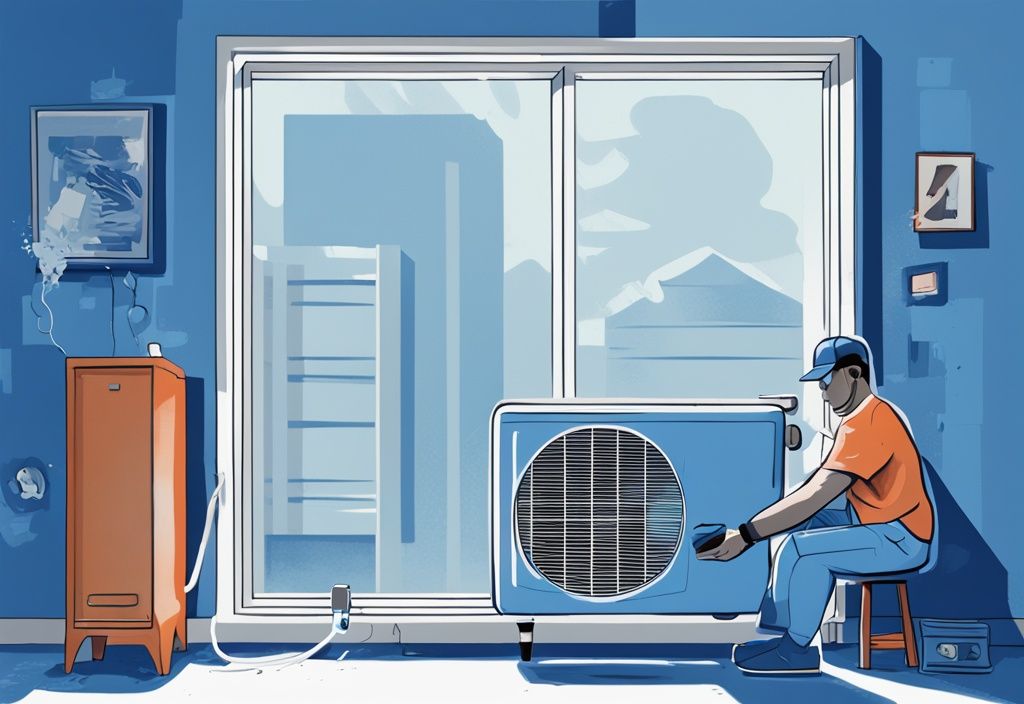
After applying the new seals, give everything a good once-over to make sure all gaps are filled and the seals are secure. Regular inspections will keep your window AC unit running efficiently for years to come.
Special Considerations
Navigating the nuances of sealing a window AC unit can be straightforward, yet different window types demand specific approaches to avoid costly energy losses. Let’s break it down by window types and delve into some safety measures to ensure your sealing job is efficient and secure.
Sealing Window AC Units in Different Window Types
Double-Hung Windows
If you’re tackling double-hung windows, you’ll find that sealing them effectively can be achieved with a few handy tricks. Start by addressing the gap between the top and bottom panes. A simple, temporary solution could be using a rolled-up towel to block drafts quickly. For a more lasting fix, carefully measure and cut foam to fit these gaps precisely. Getting the measurements right is crucial for creating a snug seal. You can also place foam inserts around the edges where you notice the most significant drafts, which helps maintain the integrity of your seal over time.
Sliding Windows
Sliding windows require a slightly altered approach due to their horizontal operation. First, pinpoint all the potential gaps along the edges and overlapping sections. Weatherstripping comes highly recommended here as it provides a strong seal when properly installed. Apply weatherstripping along the vertical sides and top horizontal edge of the sliding window to reduce gaps. Additionally, consider using foam strips for any larger horizontal gaps, ensuring they don’t interfere with the sliding mechanism but still offer a tight seal.
Safety Precautions and Tips
It’s crucial to prioritize safety when sealing your window AC unit. Before you begin, be sure to turn off the AC and unplug all electronics to avoid any electrical mishaps.
Once the sealing process is complete, perform a thorough inspection before switching the unit back on. Check for potential gaps and ensure all sealing materials are firmly in place. This final step is vital for ensuring the effectiveness and safety of your sealing efforts, guaranteeing maximum efficiency and peace of mind as you enjoy a more comfortable home.
Cost-Effectiveness of Proper Sealing
Reducing Energy Bills
Hey there! John here. You know, one of the best ways to cut down on those pesky energy bills is by properly sealing your window AC unit. Trust me, it’s a game-changer! When you seal up those gaps, your AC doesn’t have to work overtime to keep your home cool. Imagine this: no more wasting energy and money on air that just leaks right out.
Knowing how to seal window AC unit effectively makes a big difference. Think of it like patching up a leaky boat — you keep the cold air in and the warm air out. This not only keeps the temperature steady but also reduces how often your AC cycles on and off, which means more savings on your energy bill. Simple weatherstripping, a bit of caulk, and some foam insulation panels can do wonders for your energy costs. It’s like giving your AC unit a break, and who doesn’t want that?
Minimizing Wear and Tear on the AC Unit
Now, beyond saving on energy, proper sealing can work wonders for the longevity of your AC unit. Think about it, the less your unit has to strain against those air leaks, the longer it’ll last. When you create an airtight environment, you’re essentially giving your AC a vacation from all that hard work.
Understanding how to seal window AC unit keeps your unit in tip-top shape. I’ve seen it plenty of times — air leaks cause the AC to run longer and harder, which speeds up wear and tear on those critical parts. But by sealing up those pesky gaps and using proper insulation materials, you’re helping your AC run more efficiently. This means fewer repairs and a longer life for your unit. If you encounter issues such as the Daikin U4 error code, proper maintenance can help mitigate them. It’s all about making sure your AC is working smarter, not harder, and saving some cash on repairs and replacements in the process.
Conclusion
Recap of the Importance of Sealing Your Window AC Unit
Properly sealing your window AC unit is crucial for keeping it efficient and saving on energy bills. By stopping conditioned air from escaping and blocking outside air from getting in, you ensure your AC runs at its best, which extends its lifespan. With a well-sealed unit, you can significantly cut down on utility costs and reduce wear and tear, leading to long-term savings and a more comfortable home.
Encouragement to Perform Regular Maintenance
Regular maintenance is the key to a well-functioning window AC unit. Routine checks and timely resealing can prevent air leaks and moisture problems, keeping your unit efficient over time. By staying on top of maintenance, you can catch issues early and avoid bigger, costlier repairs in the future.
Final Tips and Best Practices
- Seek Professional Help if Unsure: If you’re not sure how to seal your window AC unit or if you run into trouble, it’s smart to call in a professional. Their expertise can ensure a proper seal and top-notch performance.
- Follow Detailed Steps: Always stick to the detailed instructions in guides and manuals when sealing your unit. Carefully following each step will ensure your AC is well-sealed and efficient.
By focusing on sealing your window AC unit and keeping up with regular maintenance, you can create a comfortable living space, save energy, and reduce costs. For more tips on saving money and energy in your home, check out the Energy Saver guide. Use these tips and best practices to keep your air conditioner running smoothly and enjoy a better home environment overall.
FAQ
What Tools Do I Need to Seal My Window AC Unit?
- Utility Knife: This is crucial for making precise cuts on foam boards and insulation materials.
- Screwdriver: You’ll need this to securely fasten the unit and panels in place.
- Gentle Non-abrasive Cleaner: Essential for cleaning the window and the AC unit before you start sealing.
- Rope Caulk: Great for filling in minor gaps and cracks.
- Weatherstripping: Perfect for sealing smaller seams around the unit.
- Foam Strips: These are excellent for medium-sized gaps.
- Foam Insulation Panels: Ideal for larger gaps, offering superb insulation.
- Adhesive Tapes: Different types such as insulation tape, gaffer’s tape, and Tyvek tape work well for securing materials.
Can I Seal My Window AC Unit without Drilling?
Yes, you can use non-invasive methods like foam strips, caulk strips, and various types of adhesive tapes for effective sealing. These methods save you from the hassle of drilling and are quite efficient.
How Often Should I Check the Seals on My Window AC Unit?
Regularly inspect the seals each season to ensure they remain intact and effective. This will help in preventing air leaks and improving the efficiency of your AC unit.
What Are the Best Materials to Use for Sealing Window AC Units?
Highly effective materials include weatherstripping, rope caulk, foam insulation panels, and various adhesive tapes like insulation tape and gaffer’s tape. These materials provide a robust seal, ensuring no air leaks.
Can I Use Cardboard to Insulate My Window AC Unit?
Yes, you can use coated cardboard from appliance boxes combined with Tyvek tape or gaffer’s tape. This offers a sturdy and temporary insulation solution, making it a practical alternative in a pinch.

Post Comment