DIY Guide: How to Test Your AC Capacitor Safely & Effectively
Hey there, fellow home comfort enthusiasts! Your air conditioning system is like a trusty old friend, and at its core is the AC capacitor—a small but mighty component that keeps things running smoothly. Think of it as the spark that starts your engine. But what if this little hero starts to lose its mojo?
Testing your AC capacitor isn’t just a routine check-up; it’s like giving your AC a little TLC to keep it in top shape. A faulty capacitor can lead to inefficient cooling, higher energy bills, or even a full-blown breakdown. Trust me, you don’t want that.
In this guide, I’ll walk you through testing your AC capacitor step-by-step. Whether you’re a DIY pro or just starting out, you’ll find this process as easy as pie. By the end, you’ll know how to test and replace your capacitor, keeping your home cool and comfy all summer long.
Understanding AC Capacitors
AC capacitors are like the unsung heroes of your air conditioning system, quietly doing their job to keep things cool and comfortable. They store and release electrical energy, which is crucial for getting your AC motor up and running, and keeping it going smoothly. Without them, your AC would be like a car without a battery—going nowhere fast.
What is an AC Capacitor?
Think of an AC capacitor as the spark that lights the fire in your air conditioning system. It’s responsible for storing energy and then releasing it in a burst to start the motor. There are two main types you’ll find in AC systems: start capacitors and run capacitors. Start capacitors give that initial kick needed to get the motor going, while run capacitors provide a steady flow of energy to keep it humming along efficiently. Knowing how these capacitors work is key to keeping your AC system in top shape.
Why Testing AC Capacitors is Crucial
Testing your AC capacitors is like giving your car a regular check-up. If a capacitor is on the fritz, it can cause your AC to run inefficiently, hike up your energy bills, or even lead to a complete breakdown. Regular testing can catch these issues early, saving you from bigger headaches and costly repairs down the line. By making sure your capacitor is in good working order, you’re not just keeping your AC running efficiently—you’re also extending its lifespan. This simple step can save you money and keep your home cool and comfortable, even when the summer heat is relentless.
Safety Measures Before Testing an AC Capacitor
Ensuring your safety is paramount when dealing with electrical components like AC capacitors. The following steps will guide you through safely disconnecting power and discharging the capacitor.
How to Disconnect Power to the AC Unit
Before diving into testing an AC capacitor, you’ve got to make sure the power is off. Trust me, you don’t want any surprises! Head over to your breaker box and flip the switch that controls the AC system. This simple action is your shield against electric shocks.
Once you’ve turned off the breaker, double-check that the AC unit is truly powerless. Try turning it on—if it stays off, you’re in the clear. This little test is your peace of mind, ensuring the power is indeed cut off.
Safe Discharge of the Capacitor
Now, onto discharging the capacitor. This step is crucial, and there are a couple of ways to do it safely. My go-to method is using a high-value resistor, like a 100K ohm, 1W resistor, to bridge the terminals. It’s a gentle way to let the energy fizzle out.
If you’re feeling adventurous, an insulated screwdriver can do the trick too. Just bridge those terminals carefully. Once discharged, give the capacitor a once-over. Look for any bulging or leaking fluid—these are red flags. If you spot any, it’s time for a replacement, not a test.
Essential Tools for Testing an AC Capacitor
Testing an AC capacitor is a key step in keeping your air conditioning system running smoothly. To get the job done safely and accurately, you’ll need a few must-have tools. These tools not only help you test the capacitor effectively but also keep you safe from any potential mishaps.
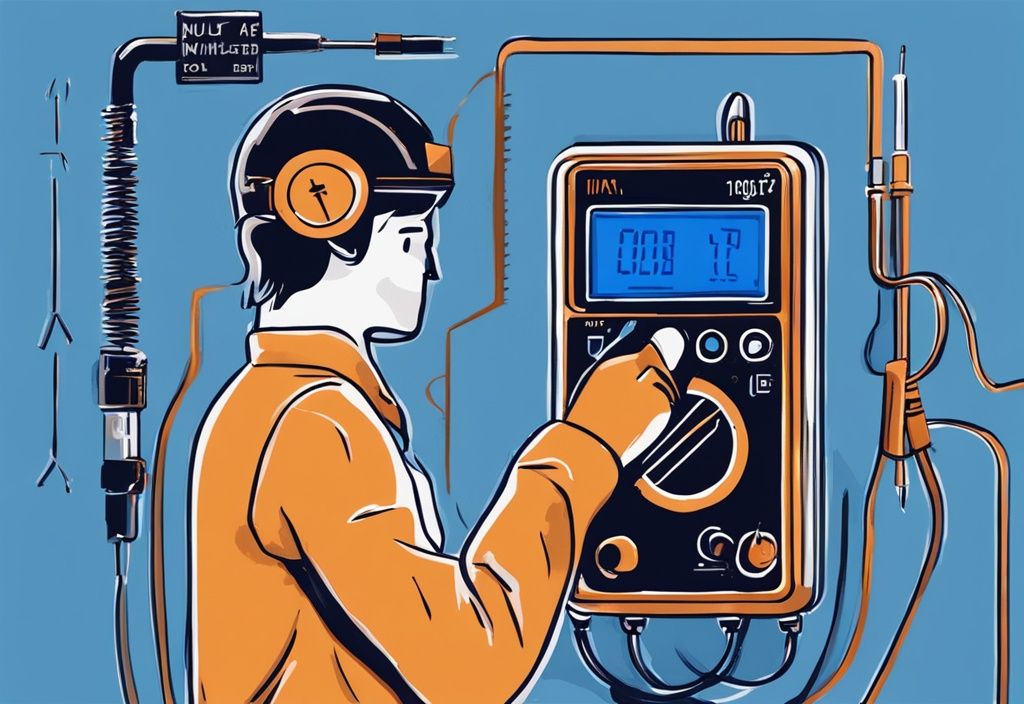
First up, you’ll want a multimeter with a capacitance setting. This handy gadget lets you measure the capacitance of the AC capacitor, helping you figure out if it’s working as it should. A multimeter is like the Swiss Army knife of electrical tools—besides capacitance, it can measure voltage, resistance, and more. It’s a real lifesaver in any toolkit.
Next, grab an insulated screwdriver. This is your go-to for safely discharging the capacitor. Before you start testing, it’s crucial to release any stored electrical energy to avoid shocks. An insulated screwdriver gives you the protection you need when you’re bridging the capacitor terminals, making sure the discharge process is safe and sound.
And don’t forget the safety gloves. These are your first line of defense against electric shock. Working with electrical components can be risky business, but safety gloves add an extra layer of protection. They help you steer clear of accidental contact with live parts and cut down the risk of injury during testing.
With these essential tools in hand, you can confidently and safely test your AC capacitor, keeping your air conditioning system in tip-top shape.
How to Test an AC Capacitor
Testing an AC capacitor might sound daunting, but with a little guidance, it’s something you can handle. This section covers the steps to safely remove and test your AC capacitor using a multimeter. Let’s dive into the process.
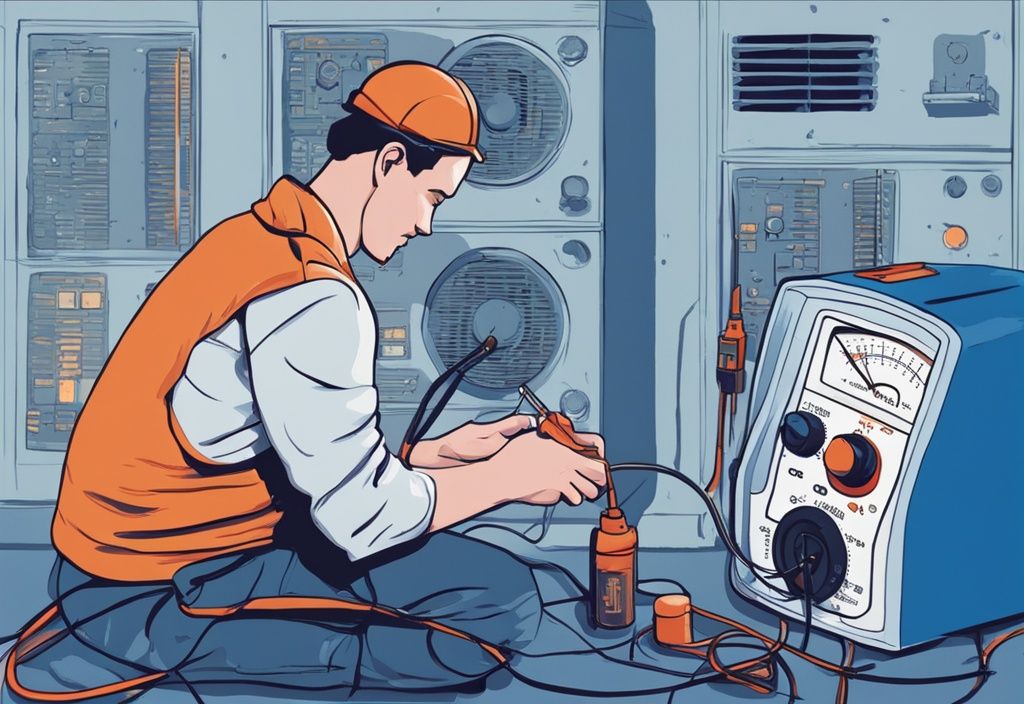
Procedure to Remove the Capacitor for Testing
First things first, safety is your top priority. Ensure the power to your air conditioning unit is off by flipping the switch at the breaker box. Once you’re sure there’s no power, it’s time to discharge the capacitor. You can do this by using a high-value resistor or an insulated screwdriver to bridge the terminals. This step is crucial to avoid any nasty shocks.
With the capacitor safely discharged, disconnect the wires. It’s a good idea to jot down where each wire goes to make reinstallation a breeze. Now, carefully remove the capacitor from its mounting bracket. Be gentle here—no need to play Hulk and damage nearby components.
Using a Multimeter to Test the Capacitor
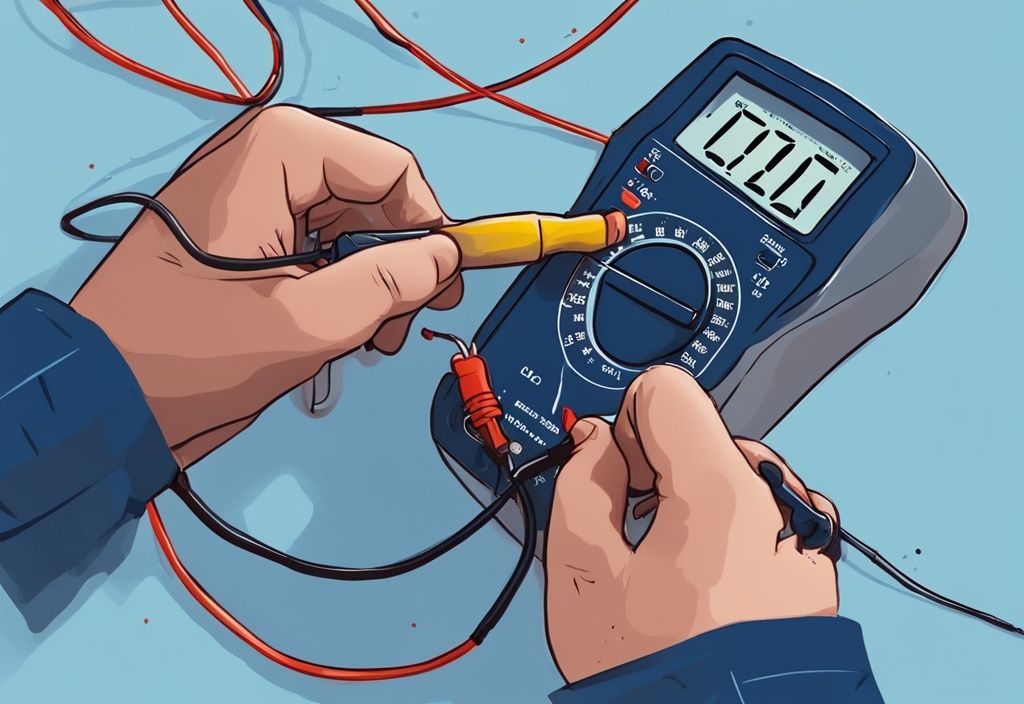
How to Test Capacitance
Grab your multimeter and set it to the capacitance measurement setting. Attach the meter probes to the capacitor terminals. A healthy capacitor should show a reading within 6% to 10% of its rated capacitance. If the numbers are off, it’s time to consider a replacement.
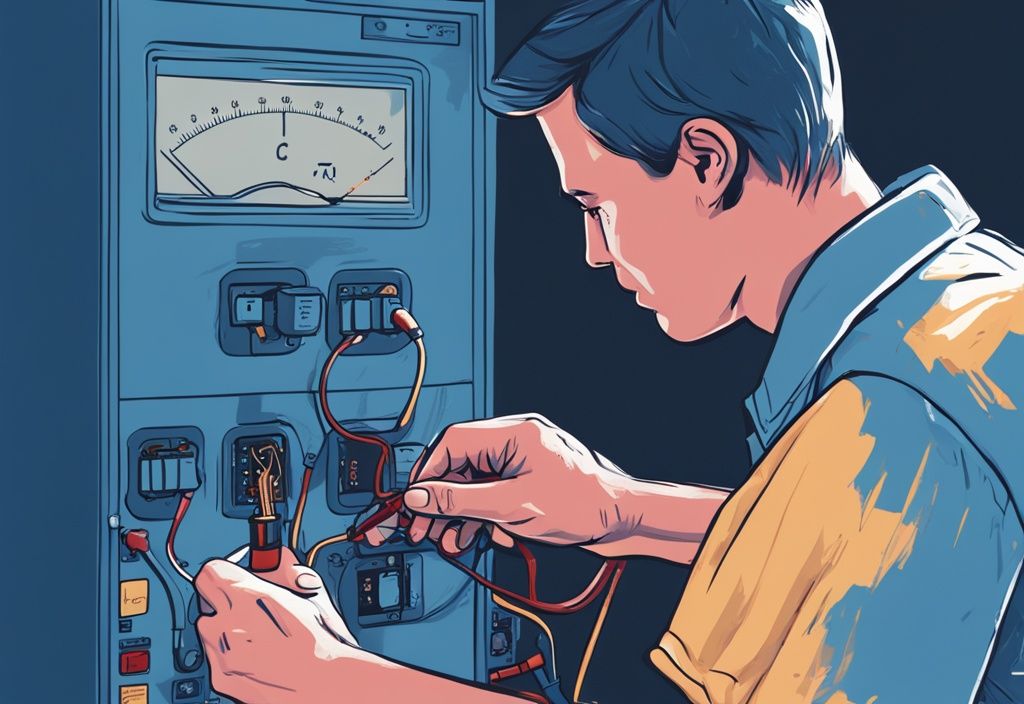
How to Test Resistance
If your multimeter doesn’t have a capacitance setting, don’t worry. You can still check the resistance. Set the multimeter to the highest ohms range and connect the probes to the terminals. Initially, the meter should read zero, then gradually move towards infinity. This indicates a good capacitor. If it stays at zero, the capacitor is shorted. If it remains at infinity, it’s open. Either way, a faulty capacitor needs replacing.
What to Do if Your AC Capacitor is Faulty
When your AC capacitor starts acting up, it can feel like your air conditioning system is throwing a tantrum. But fear not, because replacing a faulty AC capacitor is something you can tackle with a bit of care and precision. Let’s dive into the steps you’ll need to follow to get your AC back in tip-top shape.
Steps to Replace a Faulty AC Capacitor
Replacing an AC capacitor might sound intimidating, but it’s quite manageable with the right approach. First things first, make sure you have a new capacitor that matches the capacitance and voltage rating of the old one. Trust me, using the wrong specifications can lead to all sorts of headaches, from poor performance to potential damage.
Now, let’s get our hands a little dirty. Start by carefully disconnecting the wires from the old capacitor. It’s a good idea to label these wires or snap a quick photo—this little trick has saved me more times than I can count. Once you’ve got the wires free, remove the old capacitor from its mounting bracket. A trusty screwdriver should do the trick here, so keep one handy.
With the old capacitor out of the way, secure the new one in place. Reconnect the wires according to your notes or that handy photo you took. Make sure those connections are snug and secure—loose wires can lead to all sorts of mischief, from operational hiccups to electrical hazards.
Finally, once everything’s buttoned up, restore power to your AC unit. Give it a test run to ensure everything’s running smoothly. If your AC is humming along nicely, you’ve done a great job. If not, it might be time to dig a little deeper to see if there’s another issue at play.
Identifying Other Potential AC Unit Issues
When your air conditioner starts acting up, it’s easy to point fingers at the capacitor. But, as I’ve learned over my 20 years in the HVAC field, sometimes the real culprit is hiding elsewhere in the system. Let’s dive into some other common issues that might be causing your AC woes.
Common AC Unit Problems
First off, let’s talk about refrigerant levels. If your AC is guzzling more electricity or overheating, low refrigerant might be the sneaky villain. Think of refrigerant as the lifeblood of your AC. Without enough of it, your system has to work overtime, which isn’t good for your energy bill or your unit’s health. Regular check-ups can keep this in check.
Now, onto those pesky coils. Over time, they can become a magnet for dirt and debris, which can really mess with your AC’s cooling mojo. It’s like trying to run a marathon with a backpack full of rocks. A good cleaning can work wonders and keep your system humming smoothly.
And don’t forget about the wiring. Outdated or faulty wiring can lead to all sorts of headaches, from inconsistent power to potential damage. It’s like trying to play your favorite song on a guitar with a broken string. Make sure the wiring is up to snuff to avoid these hiccups.
Here’s the golden rule: regular maintenance. By keeping an eye on these common troublemakers and nipping issues in the bud, you can ensure your AC unit stays in top shape. It’s all about keeping things running smoothly, saving you from bigger headaches down the road.
When to Seek Professional Help
Testing an AC capacitor isn’t just about following steps; it requires precision and a good dose of caution. If you ever find yourself scratching your head over any part of the testing or replacement process, it might be time to call in the pros. Mishandling an AC capacitor can lead to more trouble than you bargained for, potentially increasing repair costs and leaving you without cool air longer than you’d like.
Professional technicians have the know-how and the right tools to get your AC unit back on track safely and efficiently. They can spot issues that go beyond the capacitor, like wiring hiccups or low refrigerant levels, which might be throwing a wrench in your system’s performance. By bringing in a professional, you’re not just protecting your AC from possible mishaps; you’re also ensuring it runs smoothly and lasts longer.
Sure, DIY fixes can be tempting, but AC systems are often more complex than they seem. Prioritizing safety and functionality by consulting a professional can save you time and keep your wallet happy in the long run. Remember, it’s not just about fixing the problem; it’s about doing it right.
Conclusion
Testing an AC capacitor is a crucial step in keeping your air conditioning unit running smoothly and efficiently. By knowing how to test an AC capacitor, you can nip potential problems in the bud and avoid costly repairs. Regular testing helps catch issues early, ensuring your AC unit stays in tip-top shape throughout its life.
Remember, safety first! Always disconnect the power to your AC unit and safely discharge the capacitor before you start testing. Using the right tools, like a multimeter with a capacitance setting, will give you an accurate read on your capacitor’s health. This not only helps in spotting faulty capacitors but also keeps you safe during the process.
Making regular maintenance a part of your routine can greatly reduce the chances of running into major AC problems. While you can often test and replace capacitors on your own, don’t hesitate to call in a pro if you’re unsure. Professional help can prevent further damage and ensure the job is done right. This way, your AC system stays in peak condition, providing comfort and efficiency for years to come.
Frequently Asked Questions
Here you’ll find answers to some common questions about testing your AC capacitor. Whether you’re curious about maintenance frequency or wondering if it’s safe to do it yourself, I’ve got you covered with practical advice.
How often should I test my AC capacitor?
Think of your AC capacitor like a car’s oil change. It’s best to test it annually as part of your routine maintenance. This keeps your air conditioning system running smoothly and extends its life.
Can I test an AC capacitor without a multimeter?
Sure, you can! A light bulb can be a handy tool to check if your capacitor is passing AC current. But, for the most accurate results, a multimeter is your best friend.
What are the signs of a bad AC capacitor?
If your AC unit is acting up, like not starting, making strange humming noises, or shutting off unexpectedly, it might be a capacitor issue. These are classic signs that something’s amiss.
Is it safe to test an AC capacitor myself?
Absolutely, it’s safe as long as you follow the right safety steps and use the correct tools. If you’re ever in doubt, don’t hesitate to call in a pro.
What should I do if my AC unit still has issues after replacing the capacitor?
Sometimes, the capacitor isn’t the only culprit. Check other factors like refrigerant levels, coil cleanliness, or wiring issues. If the problem persists, a professional diagnosis might be needed.


Post Comment